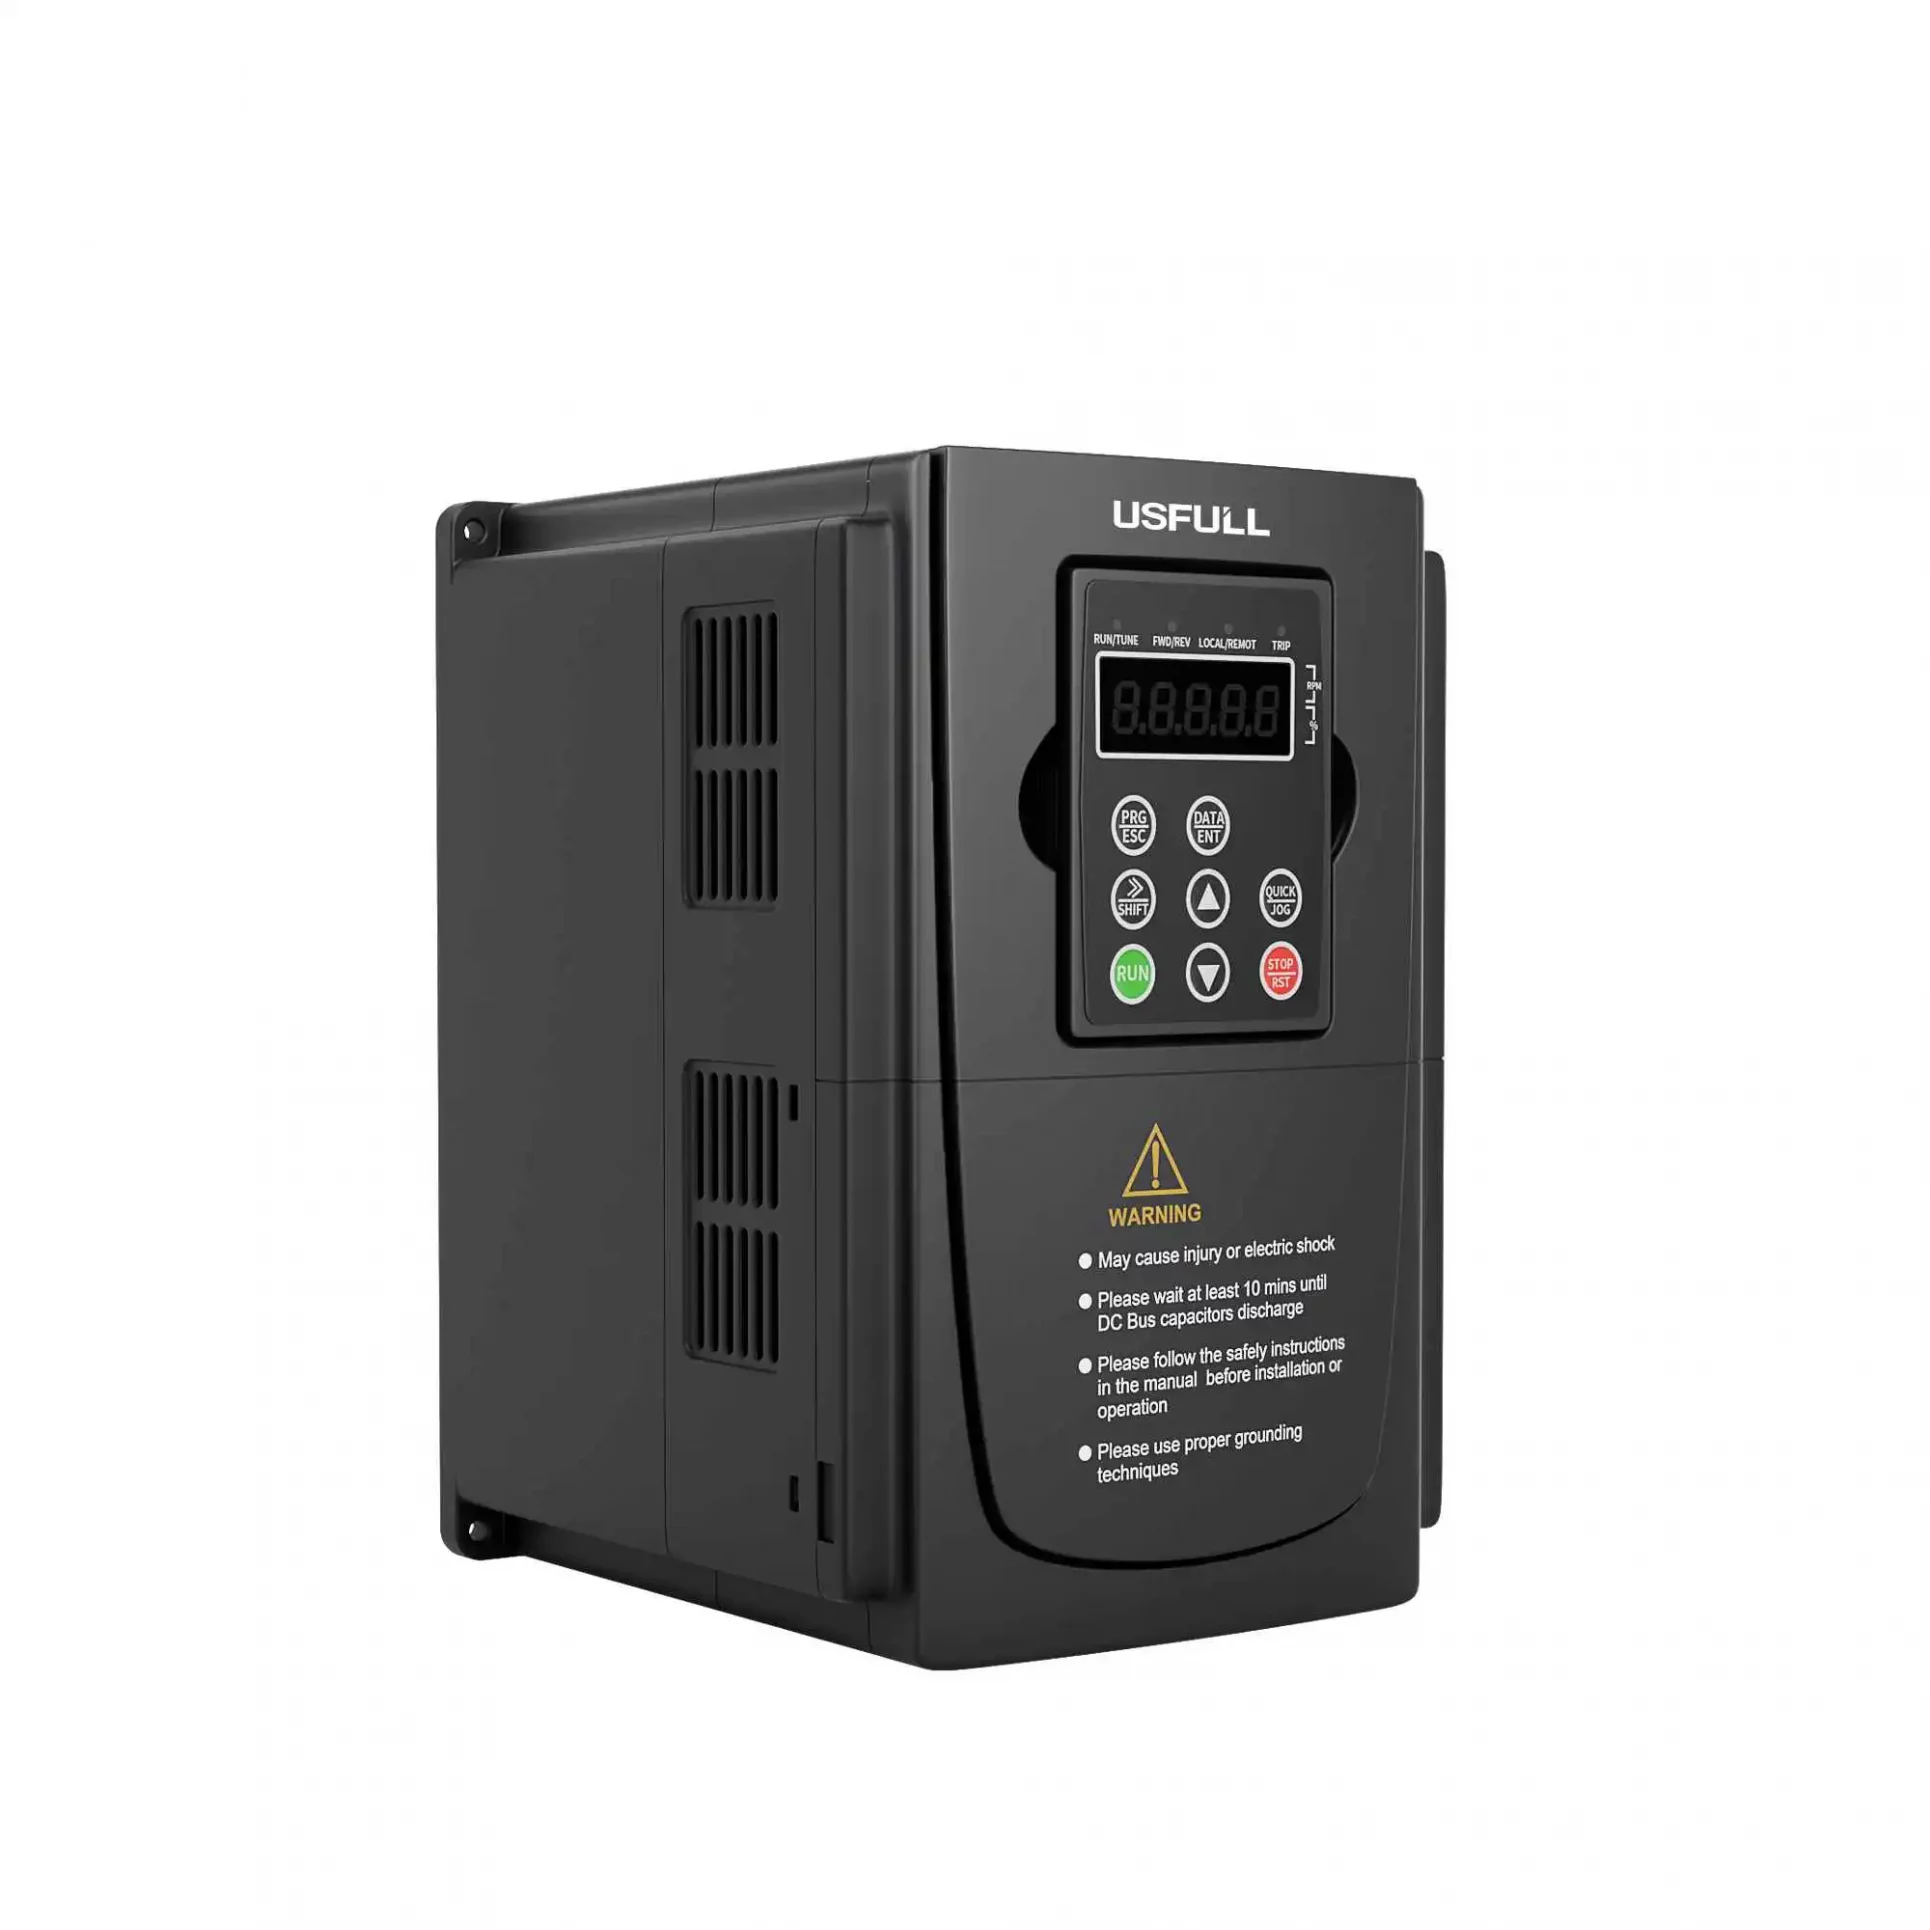
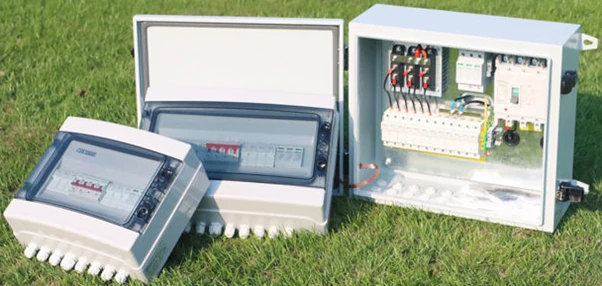
In the rapidly expanding field of solar power systems, the installation of a solar combiner box plays a vital role. A solar combiner box, also known as a PV combiner box or DC combiner box, is a key component that facilitates the consolidation and management of multiple solar panel strings. It acts as a central hub where the positive and negative poles of the solar panel strings are connected, providing a streamlined and efficient system. When installing a combiner box, there are several crucial elements to consider for a successful and safe installation. First and foremost, it is essential to carefully follow the solar combiner box manufacturer’s instructions and guidelines specific to the PV combiner box model being installed. Adhering to these instructions ensures proper installation and avoids any potential issues that may arise. Additionally, ensure that all electrical connections of the DC Combiner box are secure and tightly fastened to prevent loose or faulty connections that could lead to system failures or safety hazards. It is crucial to use the appropriate gauge wire and connectors suitable for the specific current rating of the system. Proper wire sizing helps minimize voltage drops and ensures optimal performance. Furthermore, pay attention to the orientation and placement of components within the solar combiner box to allow for efficient heat dissipation and prevent overheating. Also ensure that all necessary safety precautions are taken, such as wearing appropriate personal protective equipment and working with electrical components only when the system is properly shut down and isolated. The steps below outline how to install a DC combiner box.
Connection One: Connect the Positive Pole of Solar Panel Strings to Negative Fuse Pole
The first step in installing a solar combiner box is connecting the positive pole of the solar panel strings to the negative fuse pole. This ensures the proper flow of current and protects the system from overcurrent conditions. Begin by carefully identifying the positive pole of each solar panel string. Using the appropriate gauge wire, connect the positive pole of each string to the corresponding negative fuse pole within the PV combiner box. Follow the solar combiner box manufacturer’s guidelines for wire sizing and connections to maintain the system’s safety and efficiency.
Connection Two: Connecting Negative Pole of Solar Panel Strings to Negative Fuse Pole
Next, it is crucial to connect the negative pole of the solar panel strings to the negative fuse pole within the PV combiner box. Similar to the previous step, identify the negative pole of each solar panel string and connect them to the appropriate negative fuse pole using the recommended gauge wire. This ensures a complete circuit and proper grounding of the system. Adhering to electrical codes and solar combiner box manufacturer’s instructions is essential to maintain system integrity and minimize potential risks.
Connection Three: Connecting Positive and Negative Poles of DC Breaker to the Inverter
After connecting the DC combiner box solar panel strings to the fuse poles, the next step involves connecting the positive and negative poles of the DC breaker to the inverter. This step allows for the transfer of generated solar power to the inverter for conversion into usable AC power. Ensure the DC breaker is compatible with the PV combiner box system’s specifications and rating. Connect the positive pole of the DC breaker to the positive terminal of the inverter, and similarly, connect the negative pole of the DC breaker to the negative terminal of the inverter. Secure the connections tightly and perform necessary inspections to guarantee proper contact and optimal performance.
Powering Up the DC Combiner Box
Once all the connections are made, it’s time to power up the solar combiner box. Before doing so, ensure that all wiring is properly secured and there are no loose connections. Carefully double-check that all components of the PV combiner box are correctly installed and aligned. Once satisfied, follow the recommended safety protocols and connect the DC combiner box to the power source. Monitor the system closely during the power-up process to ensure smooth operation and identify any potential issues promptly. Consult the solar combiner box manufacturer’s guidelines and specifications for any additional considerations specific to the model being installed.

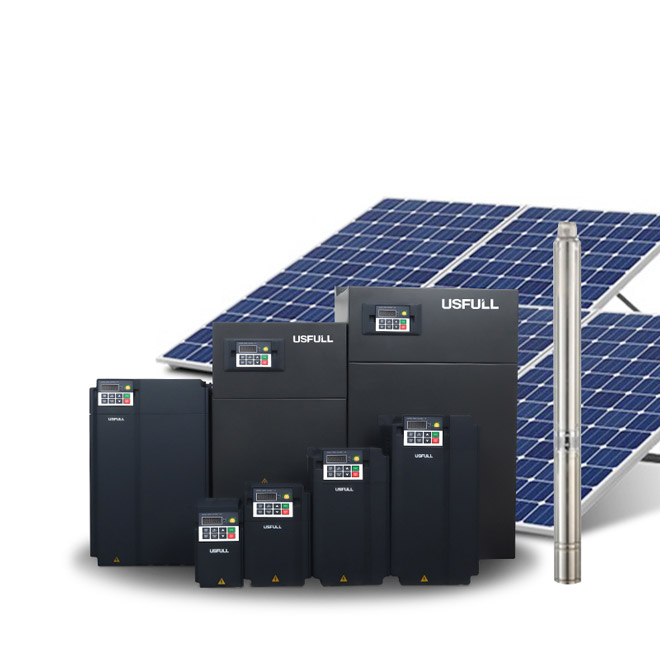
Solar Combiner Box Manufacturers and Their Expertise
When it comes to installing a solar combiner box, it is essential to choose products from reputable solar combiner box manufacturers. Trusted manufacturers ensure the quality, reliability, and compliance of their products with industry standards. By selecting a solar combiner box from a well-established manufacturer, electrical industry professionals can have confidence in the product’s performance and long-term reliability. Conduct thorough research to identify reputable solar combiner box manufacturers, considering factors such as product certifications, customer reviews, and technical support availability.
Conclusion
Installing a solar combiner box is a crucial step in setting up a reliable and efficient solar power system. From connecting the positive and negative poles of solar panel strings to wiring the DC breaker to the inverter, following the correct installation procedures is vital for system safety and optimal performance. By selecting high-quality products from trusted solar combiner box manufacturers, B2B electrical industry professionals can ensure the reliability and longevity of the solar power systems they install. Keep in mind that safety should always be a priority, and adherence to electrical codes and manufacturer’s guidelines is essential throughout the installation process.